Install CloudStream On Android TV
Install CloudStream on Android TV and enjoy your favorite movies, TV shows, and anime on a bigger screen. The experience feels completely different when you’re watching content in 4K resolution from the comfort of your TV. In this guide, we’ll walk you through the complete process of setting up CloudStream on Android TV, from downloading the APK to getting everything ready for streaming.
Install CloudStream On Android TV
Install CloudStream On Android TV Using the Downloader App
The easiest and most popular method. No PC needed, no USB required, everything happens directly on your TV.
| Requirement | Minimum |
|---|---|
| Android TV Version | Android TV 7.0 (Nougat) or Higher |
| Storage Space | 100MB for the App + Extra Space for Downloads |
| RAM | 2GB Minimum, 4GB Recommended |
| Internet | Required for Streaming, Not for Downloaded Content |
| Processor | Quad-core Processor Recommended for Smooth Playback |
| Unknown Sources | Must Be Enabled in Settings Before Installing APKs |
| Remote Support | Compatible With Android TV Remote & D-Pad Navigation |
| Screen Resolution | Supports HD, Full HD, & 4K TVs |
| File Manager | Recommended for Installing Downloaded APK Files |
| External Storage | Optional Support for USB or External Drives for Downloads |
Get the APK File Onto Your TV
Option A: Download CloudStream APK through the USB drive on your PC or phone, plug the USB into your TV, open the file manager, and there you’ll find the file.
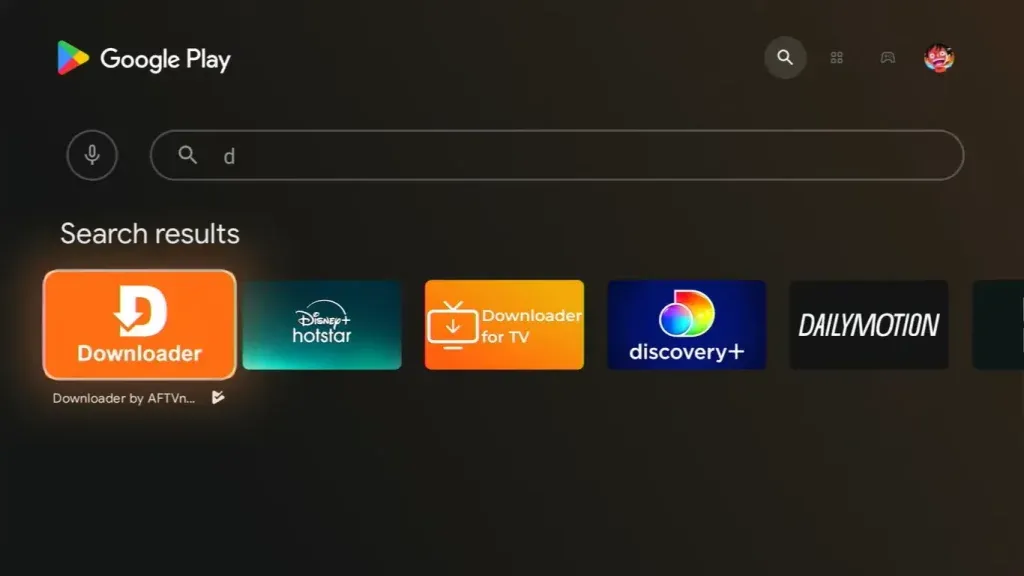
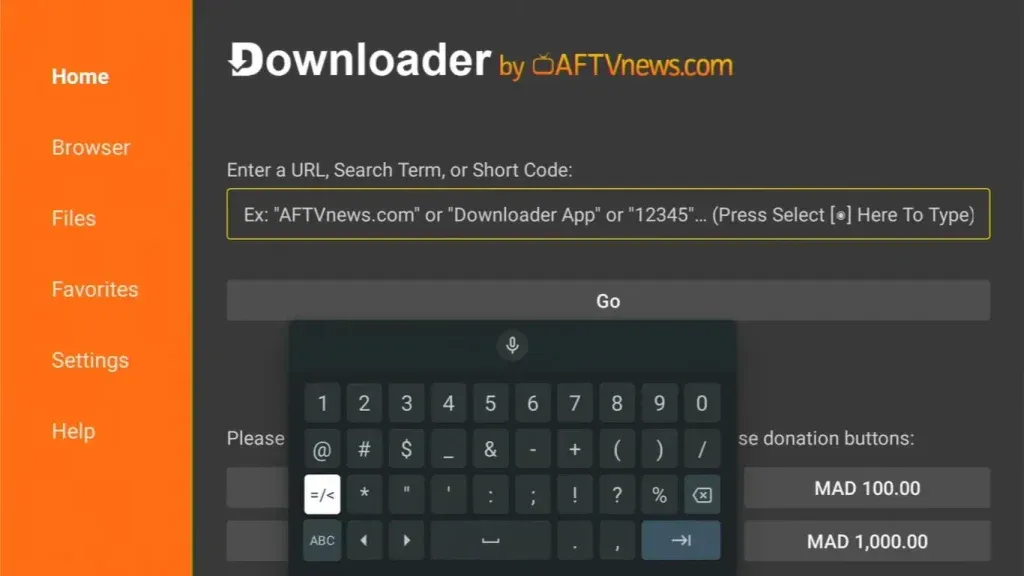
Option B: On your Android TV, install the Downloader App from the Google Play Store, open the Downloader app, enter the APK URL that has been provided on this page, and the file will directly download to your TV.
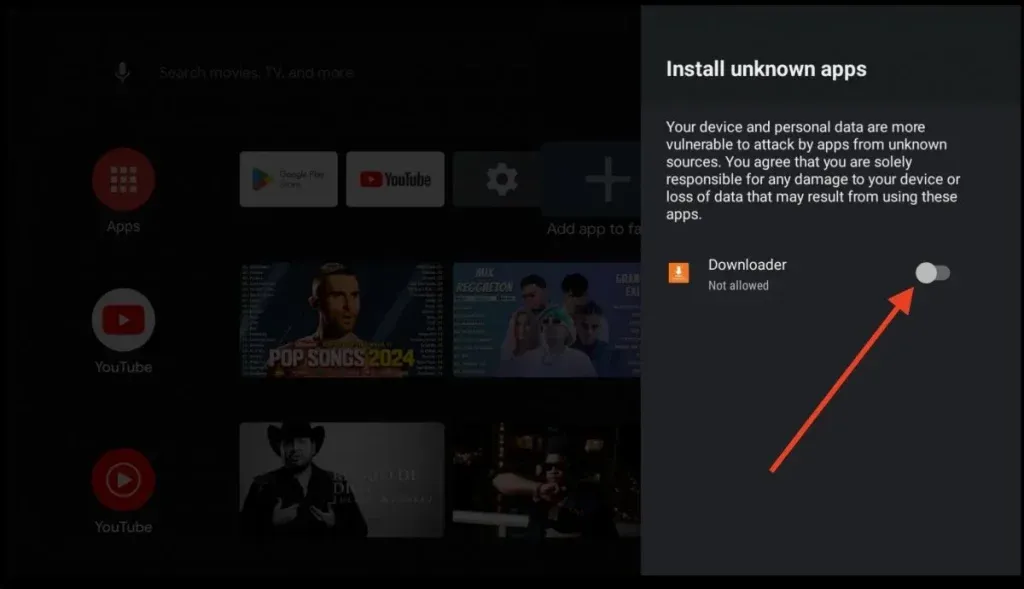
Tell Your TV to Trust Outside Apps
To proceed with this, go to Settings, Device Preferences, then head to Security and Restrictions, Unknown Sources, and grant the permission to switch it on.
Install CloudStream On Android TV
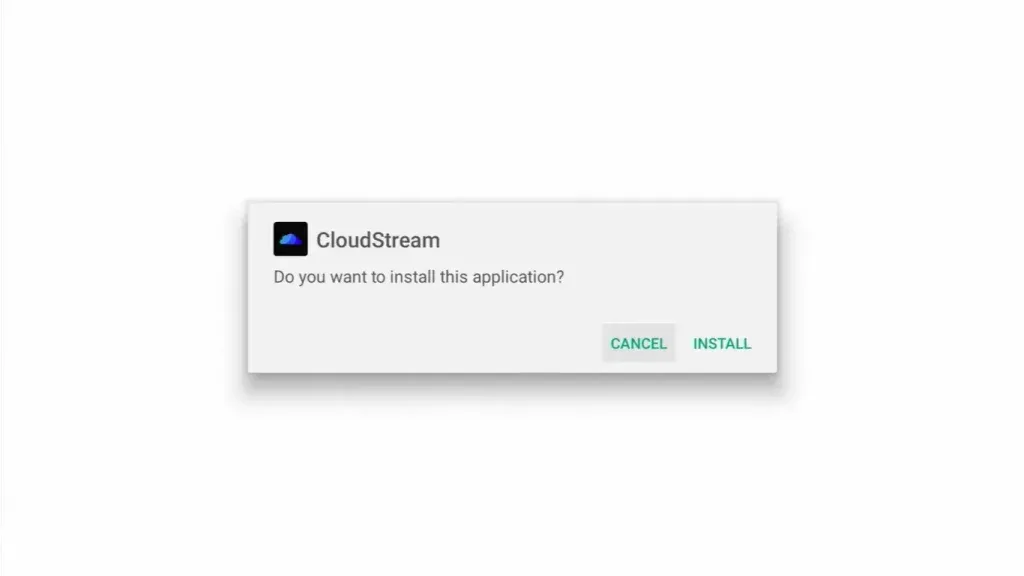
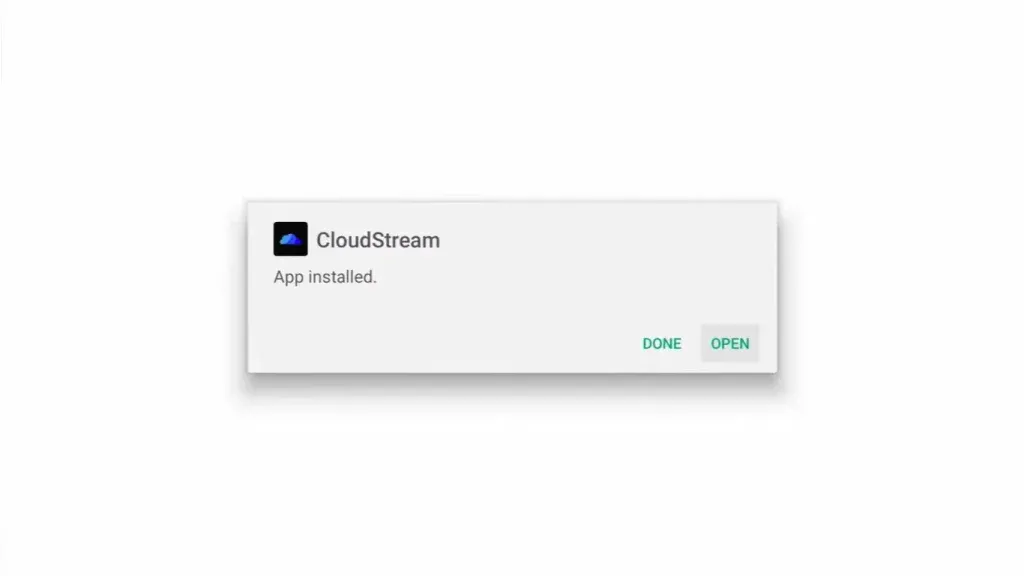
Now, to install the APK file from USB or Downloader, tap the install button, and you’re done with the process.
First, launch
For selecting the language, open the CloudStream app, and in content preferences, you can select your desired language.
Add a Repository
To add the repository to your TV, go to Settings on your remote, Extensions, and add Repository.
Switch to TV Layout
CloudStream 3 has a dedicated TV layout. If it hasn’t switched automatically, go to Settings, Appearance, and TV Layout and enable it. Navigation will become remote-friendly, and everything will work cleanly with directional buttons.
Troubleshooting
Fix Installation Issues
1. If you see an “Install Blocked” message, enable “Unknown Sources” in your TV settings first, then restart the installation process.
2. If typing the URL with your remote feels difficult, connect a Bluetooth keyboard or use the built-in keyboard available in the Downloader app.
3. If the app crashes when you open it, completely turn off your TV instead of leaving it on standby. Turn it back on and launch the app again.
4. If content is not loading, tap “None” at the bottom-right corner of the home screen and manually select your installed extension.
Install CloudStream on Android TV Using A PC & ADB
Looking to install CloudStream on Android TV without using the Downloader app or a USB drive? This method connects your PC directly to your Android TV over your home Wi-Fi network using ADB (Android Debug Bridge). It may sound technical, but it’s surprisingly simple. As long as your PC and Android TV are connected to the same network, you’re only a few commands away from getting CloudStream up and running.
Before You Start
| Requirement | Details |
|---|---|
| PC | Windows, Mac, or Linux |
| Network | PC and Android TV on the Same Wi-Fi |
| ADB Tools | Free Download From the Android Developer Site |
| TV IP Address | Found in TV Network Settings |
Enable Developer Options on Your Android TV
Go to Settings → Device Preferences → About. Scroll down to Build and tap it seven times. A message appears saying Developer Options are now enabled.
Go back to Settings → Device Preferences → Developer Options and turn on USB Debugging and Network Debugging.
Find Your TV’s IP Address
Go to Settings → Device Preferences → About → Network. Note down the IP address; it looks something like 192.168.1.105. You’ll need this in a moment.
Download ADB on Your PC
On your Windows PC, download the Android SDK Platform Tools from the official Android developer site. Extract the folder to somewhere easy to access; your Desktop works fine.
Connect Your PC to the TV via ADB
Open Command Prompt inside the ADB folder. Right-click inside the folder and select “Open in Terminal” or “Open Command Window Here.”
Type this command and press Enter, replacing the IP with your TV’s actual IP address:
ADB connect 192.168.1.105:5555
Your TV will show a permission pop-up. On your TV remote, select Allow. Your PC is now connected to your TV.
Download the CloudStream On Your PC
Come back to this page on your PC browser and download the CloudStream APK file. Save it to your Desktop or Downloads folder, somewhere easy to find.
Install CloudStream On Android TV via ADB
Back in Command Prompt, type this command, replacing the file path with where you actually saved the APK:
ADB install C:\Users\YourName\Desktop\cloudstream.apk
Press Enter. The installation takes about thirty seconds. When you see “Success” in the terminal, it’s done.
Launch CloudStream on Android TV
Find CloudStream in your TV’s app drawer. Open it, select your language and content preferences, add a repository through Settings → Extensions → Add Repository, and switch to TV Layout through Settings → Appearance → TV Layout.
MEGAREPO and ROWDYCADO are the two best starting repositories. Install the extensions inside them, tap None on the home screen, select your extension, and start watching.
Troubleshooting
Fix Installation Issues
1. ADB connection refused: Make sure Network Debugging is ON in Developer Options.
2. TV not showing permission pop-up: Restart the TV and try the adb connect command again.
3. “Install failed” in the terminal: Delete the APK, re-download it from this page, and retry.
4. App installed but not showing in app drawer: Restart the TV, it appears after a fresh boot.
5. ADB disconnects mid-install: Keep both devices on the same Wi-Fi and don’t let the TV sleep during installation.
Method 1 vs Method 2: Which Should You Use?
| Method 1 — Downloader App | Method 2 — ADB via PC | |
|---|---|---|
| PC Required | No | Yes |
| USB Required | Optional | No |
| Difficulty | Easy | Medium |
| Time | 5 Minutes | 10 Minutes |
| Best For | Most Users | Tech-Savvy Users or No Downloader Access |
| Same Wi-Fi Needed | No | Yes |
For most people, Method 1 is the way to go. It’s faster, simpler, and needs nothing beyond your TV remote. Method 2 is there for situations where the Downloader app isn’t available, or you prefer working from your PC.