
CloudStream APK On PC/Windows
How to Install CloudStream APK On PC
Install CloudStream APK on PC Using Emulator
CloudStream APK On PC, Download & Install Guide (Windows & Linux)
Your laptop screen is bigger than your phone, and your internet is faster, so why are you still squinting at a 6-inch display trying to watch something? CloudStream APK On PC gives you the same free streaming experience, 4K playback, and zero-subscription access, but on a larger, more comfortable screen.
Because CloudStream is designed for Android, you’ll need an Android emulator to run it on your computer. Don’t worry—the setup is straightforward and usually takes less than ten minutes.
System Requirements
| Requirement | Minimum |
|---|---|
| Operating System | Windows 7, 8, 10, 11 / macOS 10.15+ / Linux |
| RAM | 2GB Minimum, 4GB Recommended |
| Storage | 3–6GB (Emulator + App Combined) |
| Processor | Dual-Core Intel or AMD |
| GPU | Integrated Graphics, No Separate Card Needed |
Before anything else, check your machine handles this:
Download an Android Emulator
CloudStream needs an Android environment to run on Windows or Linux. Two solid options:
1. BlueStacks, the most popular, easiest setup, works on Windows and Mac WSA (Windows Subsystem for Android), built into Windows 11, no third-party software needed
2. Download BlueStacks from bluestacks.com or enable WSA through the Microsoft Store on Windows 11. Either works. BlueStacks is the simpler pick if you’ve never done this before.
Install and Open the Emulator
Run the installer, let it finish, and open the emulator. First launch takes a minute or two; it’s setting up the Android environment. Once it’s open and you’re looking at an Android home screen, you’re ready.
Download the CloudStream APK On PC
On your PC browser, come back to this page and download the CloudStream APK file. Save it somewhere you’ll find easily; your Downloads folder works.
Install the APK Inside the Emulator
Drag the APK file directly into the BlueStacks window. It installs automatically. If dragging doesn’t work, use BlueStacks’ built-in APK install option, look for “Install APK” in the sidebar.
On WSA, open the APK file directly, and Windows handles the rest.
First Launch Setup
Open CloudStream inside the emulator. You’ll get a language selection screen first, pick yours. Then it asks about content preferences, movies, anime, TV shows, whatever you actually watch. Set this once and move on.
The home screen will look empty. That’s normal.
Add a Repository
Go to Settings → Extensions → Add Repository. Paste any repository URL or short code from our repositories page. Good starting points:
1. CSPR (CloudStream Providers), YouTube, Dailymotion, Twitch
2. MEGAREPO: general content, fast links
3. ROWDYCADO: HiAnime, MyFlixer, MangaDex
Install the extensions you want from inside the repository. Go back to home, tap “None” at the bottom right, select your extension, and start watching.
Troubleshooting
Fix Installation Issues
1. App opens, but nothing loads: repository not added yet, go to Settings → Extensions
2. BlueStacks is running slowly: close other apps, allocate more RAM in BlueStacks settings
3. APK won’t install: make sure you’ve downloaded the full file, not a partial download
4. Video stuttering: lower the stream quality in the player settings, or switch to a different link
Install CloudStream APK on PC Without an Emulator (Windows 11 Only)
Don’t want to install third-party software? If you’re using Windows 11, running CloudStream APK On PC is possible without traditional Android emulators. Microsoft introduced Android app support through Windows Subsystem for Android (WSA), allowing compatible Android apps to run directly on Windows.
This approach feels more native, uses fewer system resources, and eliminates the need for software like Blue Stacks or Game Loop. The only limitation is that this method is available exclusively on Windows 11.
Before You Start
| Requirement | Details |
|---|---|
| Operating System | Windows 11 Only |
| RAM | 8GB Minimum, 16GB Recommended |
| Storage | 10GB Free Space |
| Processor | Intel Core i3 8th Gen+ / AMD Ryzen 3000+ |
| Virtualisation | Must Be Enabled in BIOS |
Enable Virtualization on Your PC
WSA needs virtualisation enabled in your BIOS to run. Most modern PCs have it on by default, but if it’s off, Android apps won’t launch.
Restart your PC, enter BIOS (usually F2 or Delete on startup), find Virtualisation or Intel VT-x / AMD-V and enable it. Save and restart.
To check if it’s already on: open Task Manager → Performance → CPU. Look for “Virtualisation: Enabled” at the bottom.
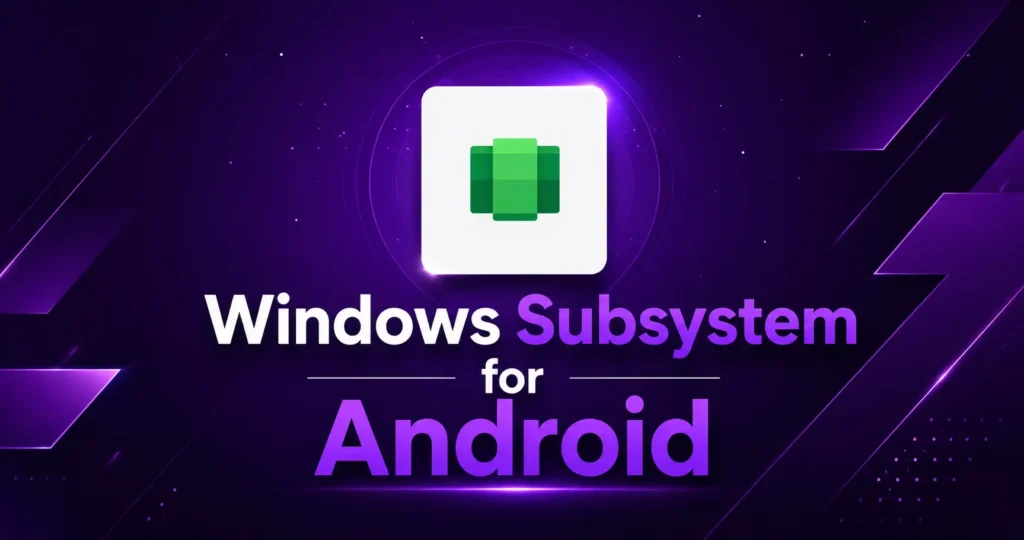
Install Windows Subsystem for Android
Open the Microsoft Store on your Windows 11 PC. Search for “Windows Subsystem for Android.” Install it, it’s free and published by Microsoft directly.
Once installed, open it from the Start menu. It sets up the Android environment on your machine. First launch takes two to three minutes
Enable Developer Mode in WSA
Open the WSA settings panel. Find Developer Mode and toggle it ON. This is what allows you to install APKs directly without going through any app store.
Download the CloudStream APK On PC
On your Windows 11 browser, come back to this page and download the CloudStream APK on PC. Save it to your Downloads folder.
Step 5: Install CloudStream APK via ADB
This step uses ADB, Android Debug Bridge. It sounds technical. Two commands and you’re done.
First, download ADB from the official Android developer tools page and extract it to a folder on your desktop. Open Command Prompt in that folder and run:
ADB connect 127.0.0.1:58526
Then run:
adb install path\to\cloudstream.apk
Replace “path\to\cloudstream.apk” with the actual file location. CloudStream installs in about thirty seconds.
Open CloudStream on Windows 11
Find CloudStream in your Windows 11 Start menu; it appears like any other installed app. Open it, go through the language and preference setup, and add a repository the same way as Method 1.
Settings → Extensions → Add Repository. Paste a shortcode, MEGAREPO or ROWDYCADO, to start. Install extensions, tap None on the home screen, select your source, and start watching.
Troubleshooting
Fix Installation Issues
1. WSA not installing: Windows 11 version must be 22H2 or later. Check Windows Update first
2. Virtualization error: Go back to Step 1 and verify BIOS settings
3. ADB connection refused: Make sure Developer Mode is ON in WSA settings
4. App installs but won’t open: Restart WSA from the settings panel and try again
5. Performance feels slow: WSA works best with 16GB RAM. Close background apps before streaming
Method 1 vs Method 2: Which Should You Use?
| Method 1 — BlueStacks | Method 2 — WSA | |
|---|---|---|
| Works On | Windows 7, 8, 10, 11 | Windows 11 Only |
| Setup Difficulty | Easy | Medium |
| Performance | Good | Better, More Native |
| Extra Software | BlueStacks Required | Nothing Extra |
| RAM Needed | 4GB | 8GB Minimum |
| Best For | Most Users | Windows 11 Power Users |
If you’re on Windows 10 or below, go with Method 1. If you’re on Windows 11 and want a cleaner setup, Method 2 is the better experience.
Why PC Specifically?
Bigger screen. Better audio if you’re using speakers. Keyboard shortcuts work inside Blue Stacks. And if you have a monitor connected to your laptop, you can push it to a full display setup without any casting involved.
CloudStream for PC through BlueStacks also supports keyboard and mouse navigation, so browsing the library actually feels natural rather than emulated.